
How to Make Peach Pie Filling - Easily! With Step-by-step Photos
How to Make Homemade Canned Peach Pie Filling
Click here for a PDF print version!
Making and canning your own homemade peach pie filling is easy! There is a just a couple of tricks to it. Here's how to do it, complete instructions in easy steps and completely illustrated. The peach pie filling will taste MUCH better than that over-sugared tasteless glop in the can from the grocery store, and by using fresh peaches, the flavor will be much stronger!Prepared this way, the jars have a shelf life of 18 months to 2 years, and require no special attention.
Now here's how you can, too! For more information about stone fruits, see Peach Picking Tips
Directions for Making Peach Pie Filling
Ingredients and Equipment to make 1 quart of peach pie
filling
(just double to make 2 quarts, etc.) or 7 quarts
|
Ingredients for Peach Pie Filling |
||
| Quantities of Ingredients Needed For | ||
| 1 Quart | 7 Quarts | |
| Sliced fresh peaches | 3-1/2 cups | 6 quarts |
| Granulated sugar | 1 cup | 7 cups |
| Clear Jel powder, see below | 1/8 cup | 1 cup |
| Cold water | 3/4 cup | 5-1/4 cups |
| Cinnamon (optional) | 1/8 teaspoon | 1 teaspoon |
| Almond extract (optional) | 1/8 teaspoon | 1 teaspoon |
| Bottled lemon juice | 1/4 cup | 1-3/4 cups |
|
|
Recipe and Directions
Step 1 - Selecting the peaches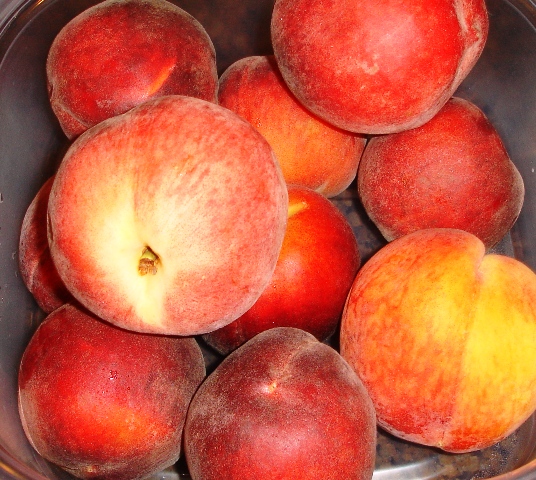
You can use fresh or even frozen peaches, but obviously you will get the best price and freshest taste if you go pick your own. Typically, peaches are in season in the US and Europe in June through August - check the harvest calendar for your state!
 Step
2 - Wash the jars and lids
Step
2 - Wash the jars and lids
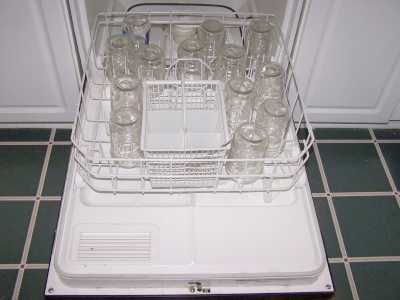
Now's a good time to get the jars ready, so you won't be rushed later. The dishwasher is fine for the jars; especially if it has a "sanitize" cycle, the water bath processing will sanitize them as well as the contents! If you don't have a dishwasher with a sanitize cycle, you can wash the containers in hot, soapy water and rinse, then sanitize the jars by boiling them 10 minutes, and keep the jars in hot water until they are used. Leave the jars in the dishwasher on "heated dry" until you are ready to use them. Keeping them hot will prevent the jars from breaking when you fill them with the hot peach pie filling.
Put the lids into a pan of hot, but not quite boiling water (that's what the manufacturer's recommend) for 10 minutes, and use the magnetic "lid lifter wand" to pull them out.
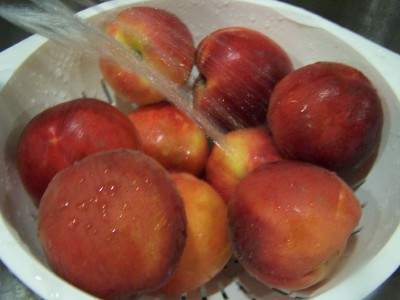
Step 3 -Wash the fruit and sort!
 I'm
sure you can figure out how to wash the fruit in a colander of plain cold
water.
I'm
sure you can figure out how to wash the fruit in a colander of plain cold
water.
Then you need to pick out and remove any bits of stems, leaves and soft or mushy fruit. It is easiest to do this in a large bowl of water and gently run your hands through the fruit as they float. With your fingers slightly apart, you will easily feel any soft or mushy fruit get caught in your fingers.
Then just drain off the water!
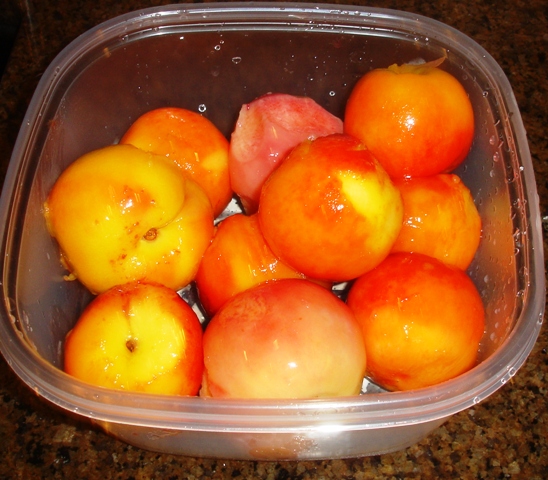
Step 4 - Peeling the Peaches
Peaches and nectarines should be peeled, as their skins can be tough / chewy in jam. Peaches have such thin skins, you really don't need to peel them.
For those you want to peel, here's a great trick that works with many
fruits and vegetables with skins (like tomatoes): just dip the fruit in
boiling water for 30 to 60 seconds.
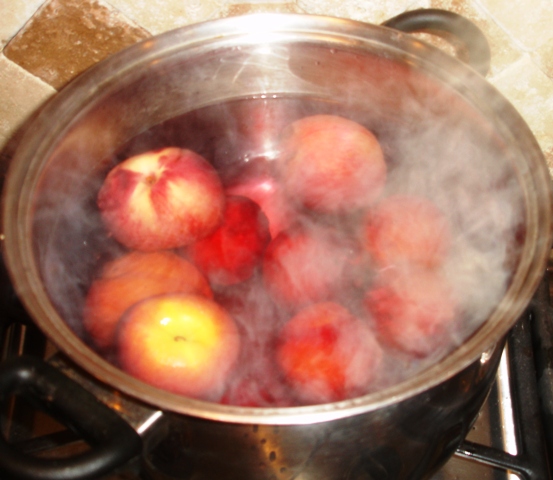
Remove from the water using a slotted spoon and put into a large bowl or pot of cold water and ice.

The skins will easily slide off now IF the peaches are ripe! The more unripe they are, the longer you will need to heat them.
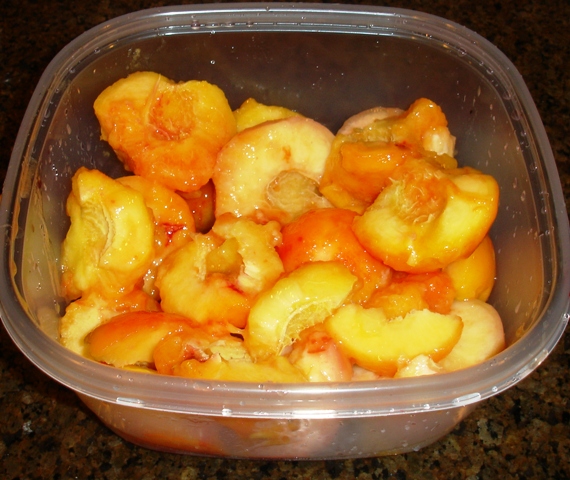
Step 5 - Cut up the peaches
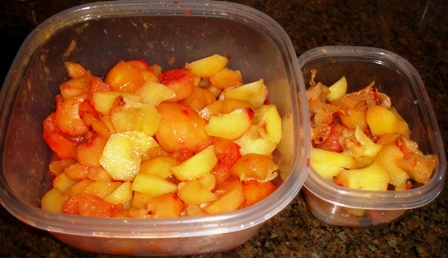
Step 6 - Prevent the fruit from darkening!
 Now,
to keep the
Now,
to keep the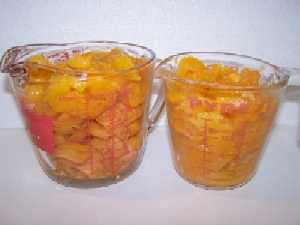 fruit from turning brown, when you get a bowlful, sprinkle 1/4 cup lemon
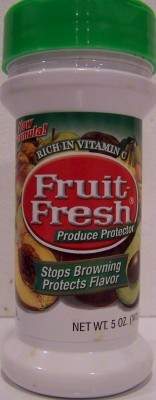
juice OR Fruit-Fresh (which is just a mix of citric acid and vitamin C,
perfectly natural). Then stir the peaches to make sure all the
surfaces have been coated.
fruit from turning brown, when you get a bowlful, sprinkle 1/4 cup lemon
juice OR Fruit-Fresh (which is just a mix of citric acid and vitamin C,
perfectly natural). Then stir the peaches to make sure all the
surfaces have been coated.
Sweetener Options (per quart)
| Type of sweetener | Notes | Amount per 1 quart | Amount per 7 quart batch |
| Stevia | Stevia blends vary a lot in concentration and sweetness - just make it as sweet as you prefer. | 1/3 cup | 3 and 1/3 cups |
| Splenda | 3/4 cup | 6 cups | |
| Blend (50-50 sugar and Splenda) | 1/2 cup Splenda AND 1/4 cup of sugar | 3 and 1/2 cups Splenda AND 3 cups of sugar | |
| Blend (sugar and Stevia) | 1/4 cup Stevia AND 1/4 cup of sugar | 2 cups Stevia AND 1 cup of sugar | |
| Honey | You need to thin the honey with some normal strength, not undiluted concentrate, fruit juice | 1/2 cup of honey and 1/3 cup of cherry or grape juice | 5 cups of honey and 1 cup of cherry or grape juice |
| Concentrated frozen blueberry or grape juice | Use undiluted | 1 cup undiluted concentrated thawed from frozen | 7 cups undiluted concentrated thawed from frozen |
| Agave | 3/4 cup | 6 cups | |
| Other combinations: Of course, you can use of combinations of agave, fruit juice, honey, sugar and/or Stevia. It will be trial and error to find out what works best for you, as I haven't tested all possible combinations. |
 Step
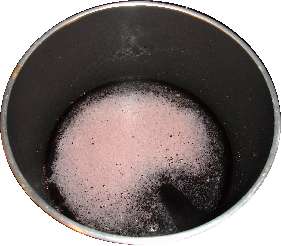
7 - Make the liquid for the filling
Step
7 - Make the liquid for the filling
Combine water, sugar (or other sweetener - see the chart above), Clear Jel , and, if desired, cinnamon and/or almond extract in a large kettle. Stir and cook over medium high heat until mixture thickens and begins to bubble.
| 1 Quart | 7 Quarts | |
| Granulated sugar (or other sweetener) | 1 cup | 7 cups |
| Clear Jel see below | 1/8 cup + 1 tablespoon | 1 cup |
| Cold water or peach juice | 3/4 cup | 5-1/4 cups |
| Cinnamon (optional) | 1/8 teaspoon | 1 teaspoon |
| Almond extract (optional) | 1/8 teaspoon | 1 teaspoon |
| Bottled lemon juice | 1/4 cup | 1-3/4 cups |
Note: I use peach juice instead of water to add the flavor and natural sweetness, but you can just use cold water, as the peach juice can be hard to find. You can also use apple or white grape juice.
Mix the ClearJel or corn starch with the lemon juice and add this to the juice in the pot. Boil 1 minute, stirring constantly, just until it starts to thicken. Then remove from the heat. It ought to be reasonably thick, but still able to flow.
WARNING: it gets thick really quickly, so don't overcook it, and if you need to add additional fruit juice or water to thin it out enough to be able to fill the jars.
IMPORTANT TIPS: Clear Jel thickens like you wouldn't believe; very fast and very thick. You have to move fast, and not overcook it or it will become too thick. If it does become too thick you can thin it with some water. Just add enough water to make it manageable. In my experience the directions provided with ClearJel make a nasty thick mess that won't even go into a jar, so I use half as mch. Do let me know of your experiences!
Problem solving:
- If it gets too stiff: To make add a little more peach, grape, apple juice or water, and heat it up again.
- If it is too thin: To make stiffer, just heat and add more Clear Jel and mix
Why use ClearJel?
ClearJel is a corn starch that has been modified to give it special and unique characteristics when used in food products. It is recommended by the USDA for making pie fillings because it does not break down in the acid food mixtures and does not thicken too much during heat processing to interfere with the intended effect of the heat on killing bacteria during canning. In other words it reduces spoilage and is safer than corn starch. It is preferred for thickening canned pie fillings as well as other foods over other corn starches because it has less or no aftertaste, the thickened juices are smooth and clear, and foods thickened with ClearJel may be frozen.
See here for related tools, equipment, supplies on Amazon
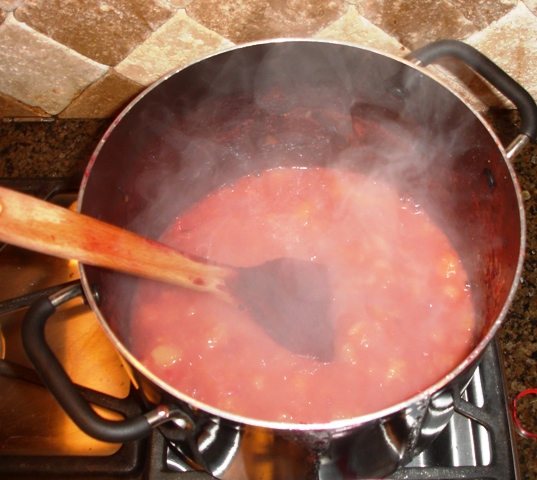
Step 8 - Combine the liquid with the fruit
Add in the drained peach slices and continue to heat mixture for 3 minutes. (see photo at right)
Step 9 - Fill the jars with the peach mixture
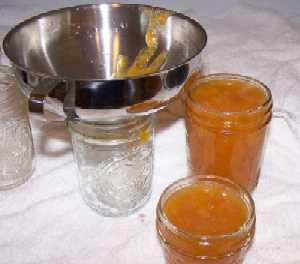 Pretty
self explanatory. A Jar funnel helps. Gently jostle the jar to
help it settle in the jar and reduce the amount of air space. Fill the quart
jars to within 1 inch of the top, wipe any spilled peach pie filling of the
top, seat the lid and tighten the ring around them.
Pretty
self explanatory. A Jar funnel helps. Gently jostle the jar to
help it settle in the jar and reduce the amount of air space. Fill the quart
jars to within 1 inch of the top, wipe any spilled peach pie filling of the
top, seat the lid and tighten the ring around them.
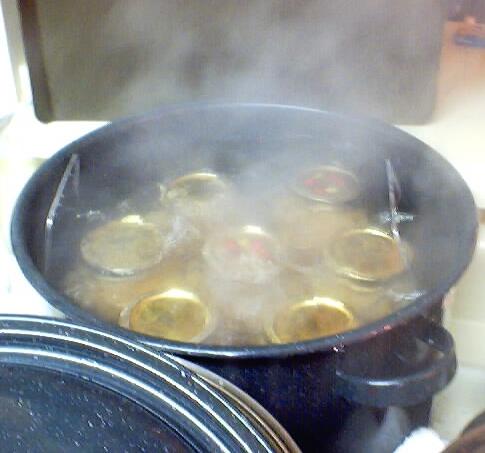 Step
10 - Process the filled jars in the water bath
Step
10 - Process the filled jars in the water bath
Put the filled jars in the canner and keep them cover with at least 1 inch of water and boiling. if you are at sea level (up to 1,000 ft) boil pint and/or quart jars for 30 minutes.
If you are at an altitude of 1,000 feet or more, see this chart.
|
USDA-Recommended process time for Hot Pack Pint or Quart Jars of Peach Pie Filling in a boiling-water canner. |
|||
| Process Time at Altitudes of | |||
| 0 - 1,000 ft | 1,001 - 3,000 ft | 3,001 - 6,000 ft | Above 6,000 ft |
| 30 min | 35 | 40 | 45 |
Step 11 - Remove and cool the jars - Done
Lift the jars out of the water and let them cool without touching or bumping them in a draft-free place (usually takes overnight) You can then remove the rings if you like, but if you leave them on, at least loosen them quite a bit, so they don't rust in place due to trapped moisture. Once the jars are cool, you can check that they are sealed verifying that the lid has been sucked down. Just press in the center, gently, with your finger. If it pops up and down (often making a popping sound), it is not sealed. If you put the jar in the refrigerator right away, you can still use it. Some people replace the lid and reprocess the jar, then that's a bit iffy. If you heat the contents back up, re-jar them (with a new lid) and the full time in the canner, it's usually ok.
Other Equipment:
From left to right:
- Jar lifting tongs to pick up hot jars
- Lid lifter - to remove lids from the pot of boiling water (sterilizing )
- Lids- disposable - you may only use them once
- Ring - holds the lids on the jar until after the jars cool - then you remove them, save them and reuse them
- Canning Jar funnel - to fill the jars


Looking for canning equipment and supplies?
Water bath canner with a jar rack
Pressure canners for gas, electric and induction stoves: Presto 23Qt or T-fal 22Qt
Canning scoop (this one is PERFECT)
Ball Blue book (most recent version)
Jars: 8oz canning jars for jams
Find Other types of farms:
Farm markets and roadside stands
Road trips and camping resources
Local Honey, apiaries, beekeepers
Consumer fraud and scams information
Home canning supplies at the best prices on the internet!
Maple Syrup Farms, sugarworks, maple syrup festivals
Environmental information and resources
Farms For Your Event for birthday parties, weddings, receptions, business meetings, retreats, etc.
Festivals - local fruit and vegetable festivals
Get the
most recent version of
the Ball Blue Book
